![]() Cannot be tested on an emulated robot, requires a real robot.
Cannot be tested on an emulated robot, requires a real robot.
Goal
In this tutorial, we will use Pepper’s camera.
We will use the camera service, which can be accessed using the Camera interface.
Prerequisites
Before stepping in this tutorial, you should be familiar with the robot focus and robot lifecycle notions.
For further details, see: Mastering Focus & Robot lifecycle.
Let’s start a new project
For further details, see: Creating a robot application.
Put the following code in the onRobotFocusGained method:
// Build the action.
val takePictureFuture: Future<TakePicture> = TakePictureBuilder.with(qiContext).buildAsync()
// Build the action.
Future<TakePicture> takePictureFuture = TakePictureBuilder.with(qiContext).buildAsync();
Now let’s test it using a button to start the action and an imageView to display the taken picture.
In the activity_main.xml layout file, add the following Button and ImageView:
<ImageView
    android:id="@+id/picture_view"
    android:layout_width="300dp"
    android:layout_height="300dp"
    android:layout_above="@+id/take_pic_button"
    android:layout_centerInParent="true"  />

<Button
    android:id="@+id/take_pic_button"
    android:layout_width="wrap_content"
    android:layout_height="wrap_content"
    android:layout_alignParentBottom="true"
    android:text="Take a picture"/>
Create these fields in the MainActivity:
// The QiContext provided by the QiSDK.
private var qiContext: QiContext? = null
// TimestampedImage future.
private var timestampedImageHandleFuture: Future<TimestampedImageHandle>? = null
// The button used to start take picture action.
private Button button;
// An image view used to show the picture.
private ImageView pictureView;
// The QiContext provided by the QiSDK.
private QiContext qiContext;
// TimestampedImage future.
private Future<TimestampedImageHandle> timestampedImageHandleFuture;
Put the following code for the onRobotFocusGained and onRobotFocusLost
methods:
override fun onRobotFocusGained(qiContext: QiContext) {
    // Store the provided QiContext.
    this.qiContext = qiContext
}

override fun onRobotFocusLost() {
    // Remove the QiContext.
    this.qiContext = null
}
@Override
public void onRobotFocusGained(QiContext qiContext) {
    // Store the provided QiContext.
    this.qiContext = qiContext;
}

@Override
public void onRobotFocusLost() {
    // Remove the QiContext.
    this.qiContext = null;
}
Set the button onClick listener:
// Set the button onClick listener.
take_pic_button.setOnClickListener { takePicture() }
// Find the button and the imageView in the onCreate method
TakePicButton = (Button) findViewById(R.id.take_pic_button);
pictureView = findViewById(R.id.picture_view);

// Set the button onClick listener.
TakePicButton.setOnClickListener(v -> takePicture());
Add a method that runs takePicture Action asynchronously:
fun takePicture() {
    // Check that the Activity owns the focus.
    if (qiContext == null) {
        return
    }

    // Disable the button.
    take_pic_button.isEnabled = false

    val timestampedImageHandleFuture = takePictureFuture?.andThenCompose { takePicture ->
        Log.i(TAG, "take picture launched!")
        return takePicture.async().run()
    }
}
public void takePicture() {
    // Check that the Activity owns the focus.
    if (qiContext == null) {
        return;
    }

    // Disable the button.
    button.setEnabled(false);

    Future<TimestampedImageHandle> timestampedImageHandleFuture = takePictureFuture.andThenCompose(takePicture -> {
        Log.i(TAG, "take picture launched!");
        return takePicture.async().run();
    });
}
Running a TakePicture action returns a TimestampedImageHandle object that contains the picture and its timestamp.
The following snippet gets the image data as a ByteBuffer then display it as a Bitmap.
timestampedImageHandleFuture?.andThenConsume { timestampedImageHandle ->
    // Consume take picture action when it's ready
    Log.i(TAG, "Picture taken")
    // get picture
    val encodedImageHandle: EncodedImageHandle = timestampedImageHandle.image

    val encodedImage: EncodedImage = encodedImageHandle.value
    Log.i(TAG, "PICTURE RECEIVED!")

    // get the byte buffer and cast it to byte array
    val buffer: ByteBuffer = encodedImage.data
    buffer.rewind()
    val pictureBufferSize: Int = buffer.remaining
    val pictureArray: ByteArray = ByteArray(pictureBufferSize)
    buffer.get(pictureArray)

    Log.i(TAG, "PICTURE RECEIVED! ($pictureBufferSize Bytes)")
    // display picture
    pictureBitmap = BitmapFactory.decodeByteArray(pictureArray, 0, pictureBufferSize)
    runOnUiThread { picture_view.setImageBitmap(pictureBitmap) }
}
timestampedImageHandleFuture.andThenConsume(timestampedImageHandle -> {
    // Consume take picture action when it's ready
    Log.i(TAG, "Picture taken");
    // get picture
    EncodedImageHandle encodedImageHandle = timestampedImageHandle.getImage();

    EncodedImage encodedImage = encodedImageHandle.getValue();
    Log.i(TAG, "PICTURE RECEIVED!");

    // get the byte buffer and cast it to byte array
    ByteBuffer buffer = encodedImage.getData();
    buffer.rewind();
    final int pictureBufferSize = buffer.remaining();
    final byte[] pictureArray = new byte[pictureBufferSize];
    buffer.get(pictureArray);

    Log.i(TAG, "PICTURE RECEIVED! (" + pictureBufferSize + " Bytes)");
    // display picture
    pictureBitmap = BitmapFactory.decodeByteArray(pictureArray, 0, pictureBufferSize);
    runOnUiThread(() -> pictureView.setImageBitmap(pictureBitmap));
});
![]() The sources for this tutorial are available on GitHub.
The sources for this tutorial are available on GitHub.
| Step | Action |
|---|---|
Install and run the application. For further details, see: Running an application. |
|
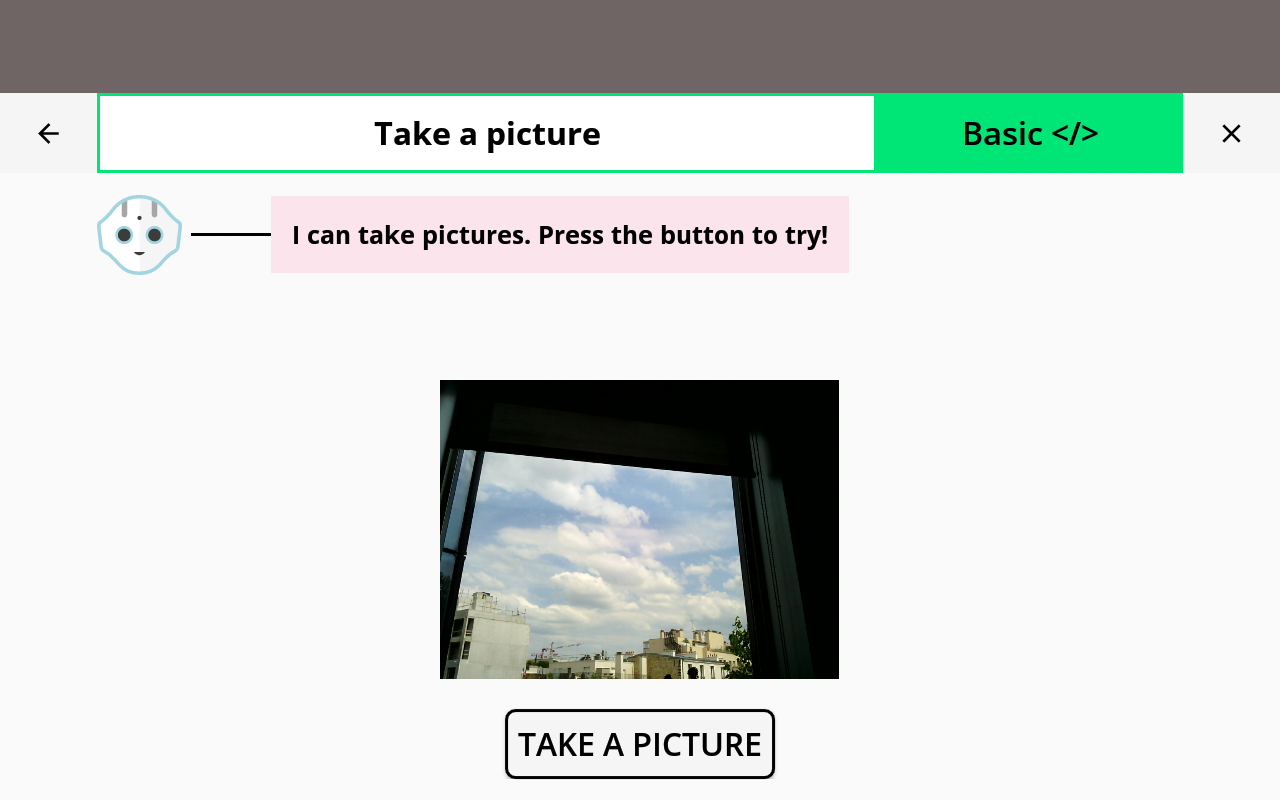
Choose “Take a picture”. Wait for pepper to say the instruction. Click on take picture button. When the picture is taken you will see it in the center of the screen. 
|
You are now able to take pictures with Pepper!