To run an application, there are 2 options:
| Step | Action |
|---|---|
On Android studio:
The Robot Emulator appears.
|
|
Make sure that:

|
|
Click the The application starts on the virtual robot displayed on the Robot Emulator. |
For further details, see: Robot emulator.
To run an application on a real robot, there are 3 steps:
To be able to connect to a robot, check his Settings on his tablet:
Home > Settings ![]() .
.
Make sure:
Prerequisite: make sure your robot is configured. For further details, see: Preparing a robot for connection.
| Step | Action |
|---|---|
On Android studio:
The Robots Browser appears, displaying detected robots. 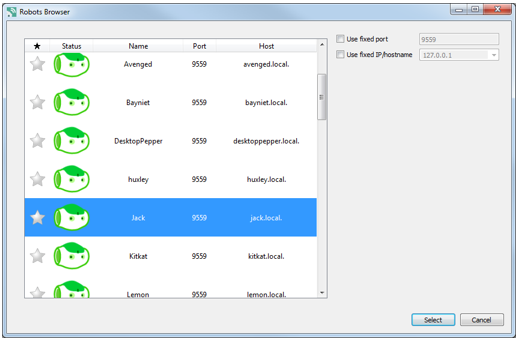
|
|
Select one of the robots in the list. If the robot does not appear, you can also check then complete
Use fix port and Use fixed IP/hostname fields.
In this case, use For further details, see: Robots Browser. |
|
Click the Select button. A security alert appears: 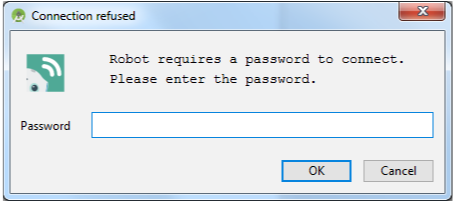
|
|
Enter the robot password and click the OK button. The Robot Viewer appears. 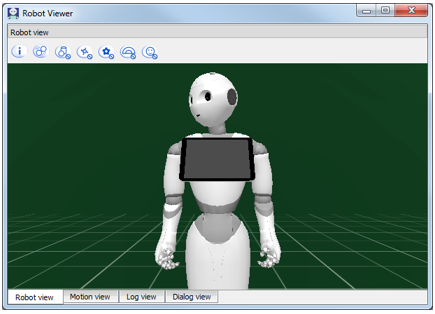
For further details, see: Robot Viewer. |
|
If the Connect to tablet alert appears: 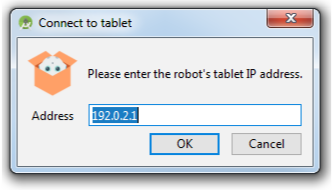
Enter the IP address of the robot tablet. How to find the IP address? On the tablet of the robot, display the notifications (swipe down from the top of the screen) and look for the following logo: |
|
Wait for the complete connection. Once connected to a real robot, you should automatically be connected to his tablet via ADB. 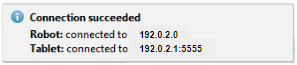
|
Troubleshooting
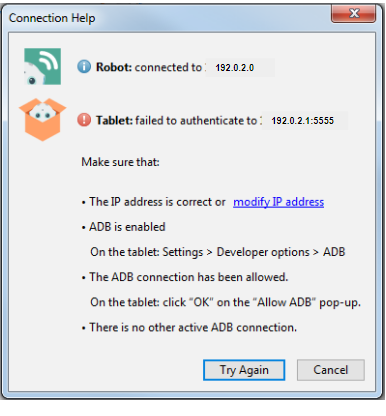
If Android Studio displays a “Connection failed” alert.
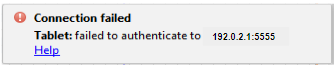
Click the Help link and check the tips.
Prerequisite
Make sure Android Studio is fully connected: not only to the robot, but also to his tablet.
Otherwise, see: Connecting to a real robot.
| Step | Action |
|---|---|
Make sure that:

|
|
Click the The application starts on the robot’s tablet. |
 Emulator button.
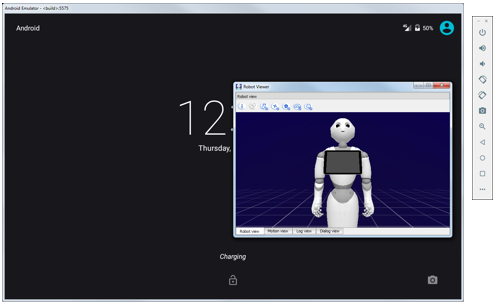
 Run button.
 Connect button.