Goal
In this tutorial, we will play a trajectory on Pepper, using the Animate action.
Prerequisites
Before stepping in this tutorial, you should:
Let’s start a new project
For further details, see: Creating a robot application.
Create a new trajectory from scratch, using the Trajectory editor.
| Step | Action |
|---|---|
| Choose File > New > Animation Trajectory. | |
Enter the name of the file to create. Let’s say “dance”. After clicking OK, the file will be created under the raw resource directory “/res/raw”. |
|
| The created file will be opened automatically through trajectory tool. | |
| Use the tool to define your robot’s movement and click OK to store the movement to your file. |
For further details, see: Trajectory Editor.
From this trajectory file we must now build an Animation class.
To do this, we use the AnimationBuilder class.
In the onRobotFocusGained method, add the following code:
// Create an animation.
val animation: Animation = AnimationBuilder.with(qiContext) // Create the builder with the context.
                                .withResources(R.raw.dance) // Set the animation resource.
                                .build() // Build the animation.
// Create an animation.
Animation animation = AnimationBuilder.with(qiContext) // Create the builder with the context.
                                      .withResources(R.raw.dance) // Set the animation resource.
                                      .build(); // Build the animation.
We will animate Pepper by using the Animate interface.
Add an Animate field in your MainActivity:
// Store the Animate action.
private var animate: Animate? = null
// Store the Animate action.
private Animate animate;
Create it with an AnimateBuilder in the onRobotFocusGained method:
// Create an animate action.
animate = AnimateBuilder.with(qiContext) // Create the builder with the context.
                            .withAnimation(animation) // Set the animation.
                            .build() // Build the animate action.
// Create an animate action.
animate = AnimateBuilder.with(qiContext) // Create the builder with the context.
                                .withAnimation(animation) // Set the animation.
                                .build(); // Build the animate action.
We used the previously created Animation to set the animation Pepper will perform.
We can now run the Animate:
// Run the animate action asynchronously.
val animateFuture: Future<Void>? = animate?.async()?.run()
// Run the animate action asynchronously.
Future<Void> animateFuture = animate.async().run();
To be notified when the Animate action starts, let’s use the addOnStartedListener method.
Add this before the run:
// Add an on started listener to the animate action.
animate?.addOnStartedListener { Log.i(TAG, "Animation started.") }
// Add an on started listener to the animate action.
animate.addOnStartedListener(() -> Log.i(TAG, "Animation started."));
Do not forget to remove this listener on Animate in the
onRobotFocusLost method:
// Remove on started listeners from the animate action.
animate?.removeAllOnStartedListeners()
// Remove on started listeners from the animate action.
if (animate != null) {
    animate.removeAllOnStartedListeners();
}
To display a log trace indicating that the animation finished with success or error, add after the run:
// Add a lambda to the action execution.
animateFuture?.thenConsume { future ->
    if (future.isSuccess) {
        Log.i(TAG, "Animation finished with success.")
    } else if (future.hasError()) {
        Log.e(TAG, "Animation finished with error.", future.error
    }
}
// Add a lambda to the action execution.
animateFuture.thenConsume(future -> {
    if (future.isSuccess()) {
        Log.i(TAG, "Animation finished with success.");
    } else if (future.hasError()) {
        Log.e(TAG, "Animation finished with error.", future.getError());
    }
});
![]() The sources for this tutorial are available on GitHub.
The sources for this tutorial are available on GitHub.
| Step | Action |
|---|---|
Install and run the application. For further details, see: Running an application. |
|
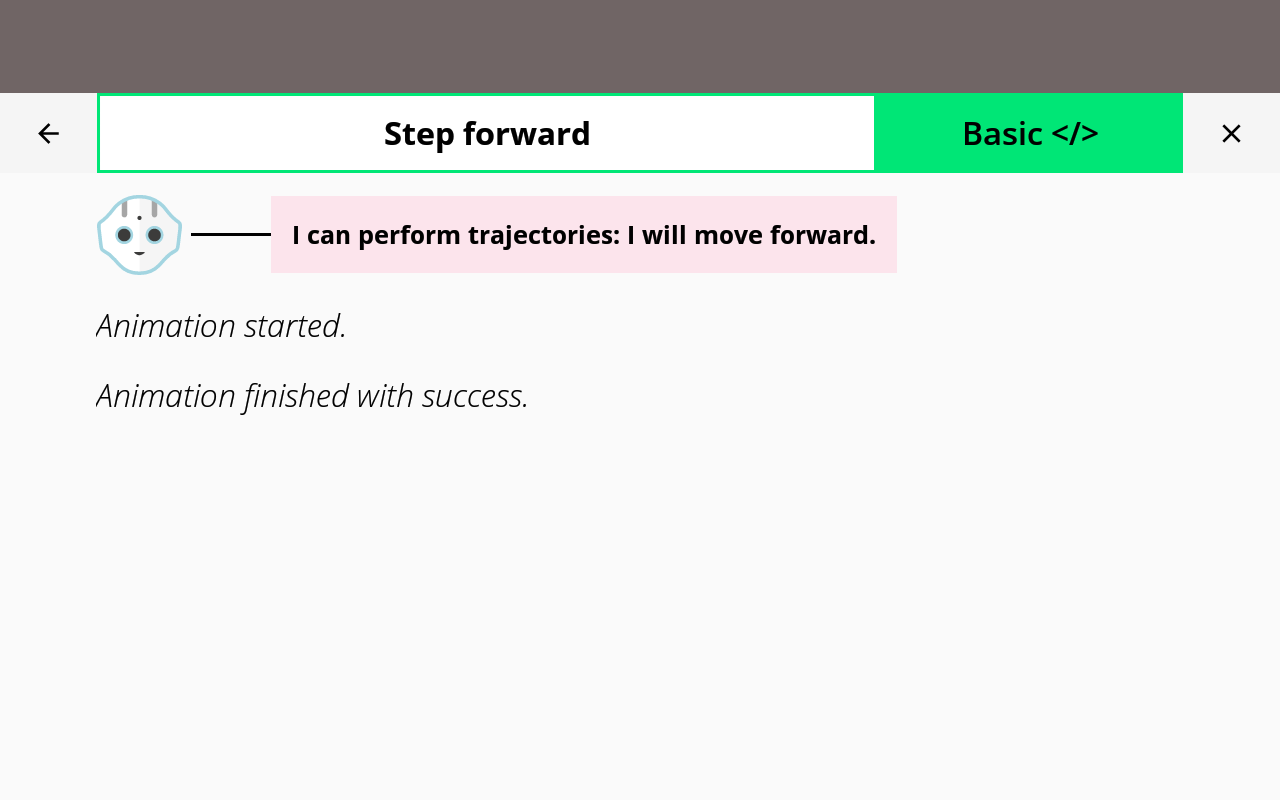
Choose “Trajectory”. You should observe the following:
|
That’s it! You can now animate Pepper!