To know how to mange an animation from you code, see: Animation and Animate references pages.
More specifically, to:
If you want your tablet to do some work while your robot is processing an animation, you can define labels through the Label interface.
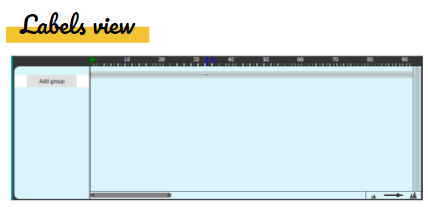
You can create Labels in the Labels view, each label defines the task to be done in the tablet.
A sequence diagram of a Label interface would look something like this.
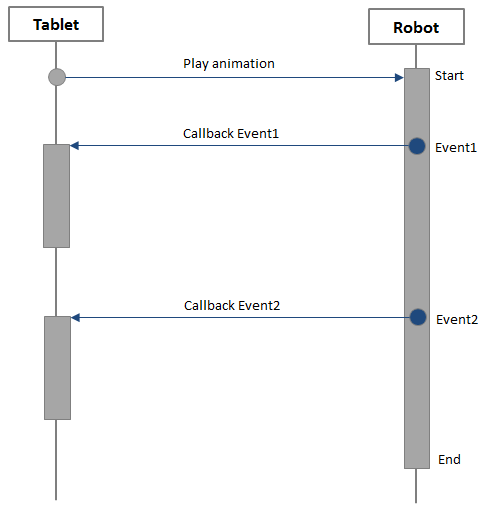
By using Labels, you can add operations that will be carried out in the tablet side while playing your animation.
For further details, see How to know when a label is reached.
Labels view allows to add labels. Attached to a Frame, a Label triggers a callback event. |
|
The Label layers you define are saved in the animation file. In Label interface, you can place your labels in the appropriate animation frame when your label callback should be run. The actual task that is run should be defined in your Android source code.
To add a label, follow these steps.
| Step | Action |
|---|---|
| Open an animation file. | |
| Display the Labels view. | |
Click the Add group button. Optionally, click the default name and rename it. Note Creating several named groups allows you to organise several categories of labels but it is not mandatory nor impacting your code: the label name only will be used. |
|
| On the timeline, right-click a Frame and choose Add a label in the contextual menu. | |
Click the name and rename it. 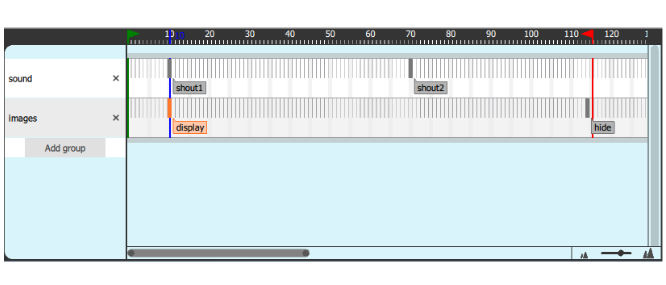
You can also use the Inspector to edit the Label. 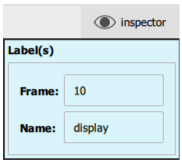
|