Let’s getting started with the Animation Editor.
Follow this Hello World to create your first, very simple, movement: lower and lift up the head, as if to greet.
| Step | Action | |
|---|---|---|
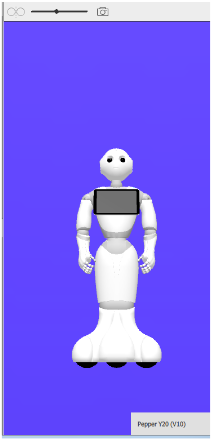
Choose Robot > Postures > Stand. This is a perfect initial posture. |
|
|
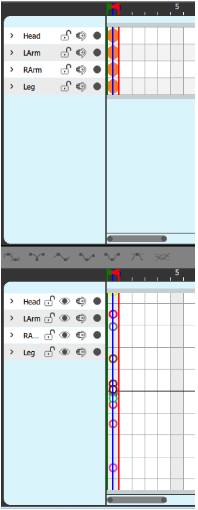
Choose Edit > Create whole body key(s). The registered key(s) are displayed on both Dopesheet and Curves views. They are positioned on the first frame, near the green start flag. |
|
|
| Step | Action | |
|---|---|---|
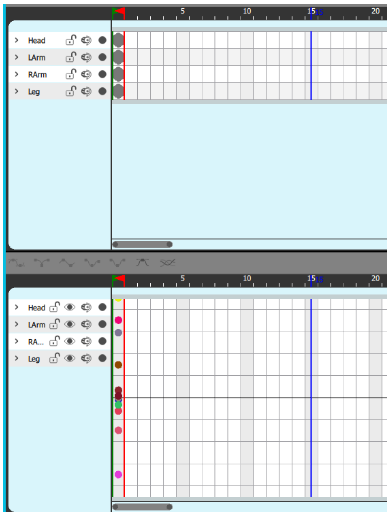
Select another Frame, let say the Frame 15. The blue line shows the selected Frame. |
|
|
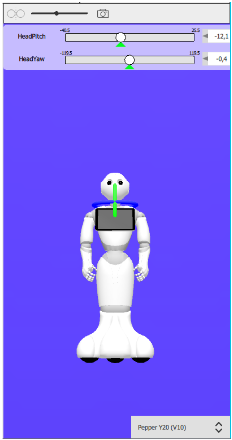
On the Robot 3D view, select the head. Sliders and wheels appear, allowing you to move the head. |
|
|
Drag the green wheel or the HeadPitch Slider in order to lower the head. The head key is automatically created on Frame 15. |
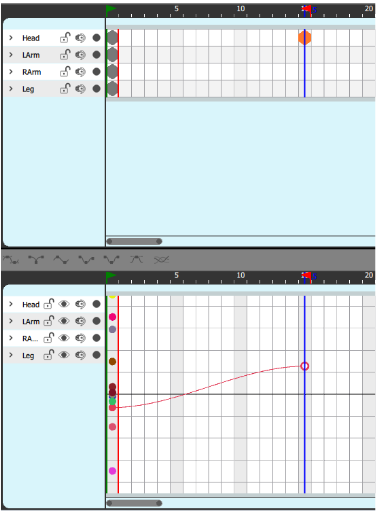
|
| Step | Action | |
|---|---|---|
| Select another Frame, let say the Frame 30. | ||
Drag the green wheel or the HeadPitch Slider in order to lift up the head. The head key is automatically created on Frame 30. |
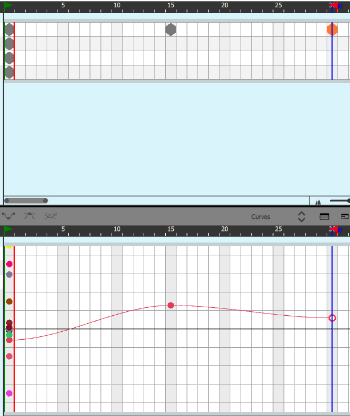
|
| Step | Action |
|---|---|
Choose Robot > Play animation. You can see the defined motion played on the Robot 3D view. Our head movement is a little bit brisk and stiff, let’s adjust the timing of execution by shifting the of the movement. |
To move a sequence of Keys:
| Step | Action | |
|---|---|---|
| On the Frame axis, select the 2 last Keys. | 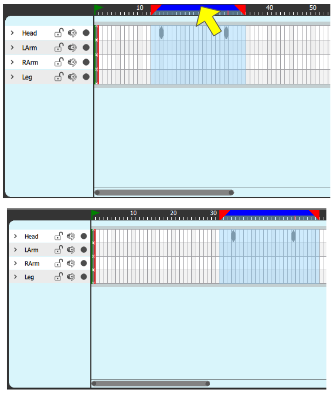
|
|
| Drag the blue bar in order to move the selection on the right. |
Now the head movement is more solemn.
You have learned to create an animation composed of an initial posture and several keys.
For further details, see: Creating Keyframes.